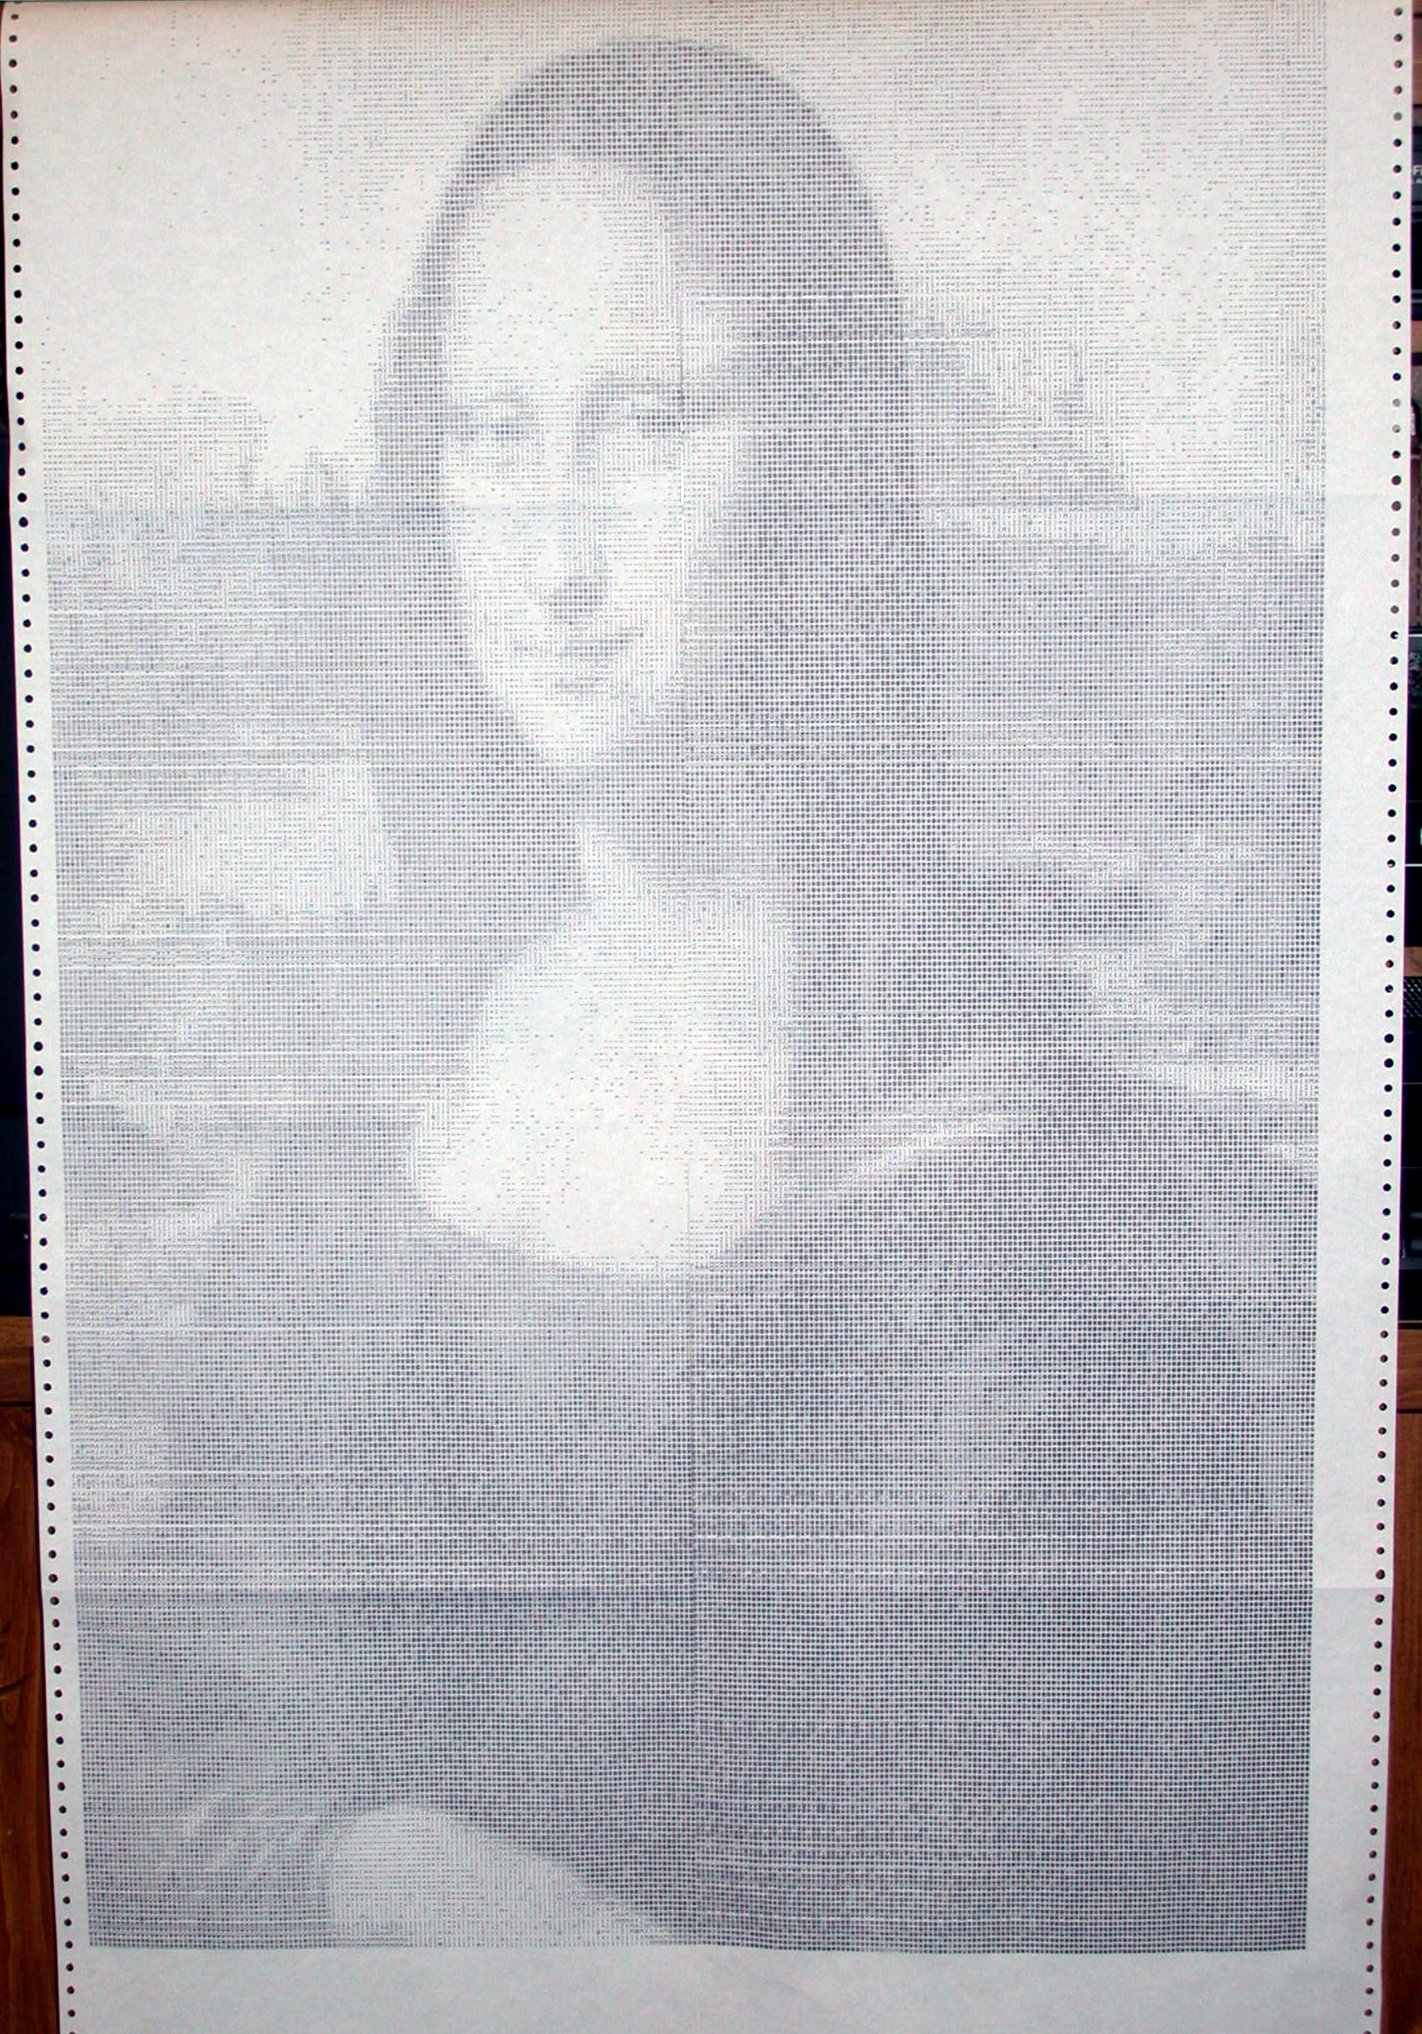
This version of the Mona Lisa was printed in 2 sections of 5 pages. The original source of the data is unknown.
In the old days (1970s), pictures like these were printed on a drum or chaintrain line printers using overstrike to create dark and light areas. Larger pictures were printed in sections and taped together. Several pictures had the following information in the print file:
COMPUTER TRANSCRIPTION PROCESS
BY
SAMUEL P. HARBISON
COMPUTER CENTER CLINIC
PRINCETON UNIVERSITY
87 PROSPECT ST.
PRINCETON, NEW JERSEY 08540
COPYRIGHT 1973 BY S. P. HARBISON
I was able to find an email address for Sam Harbison and sent him a note asking about the process used to create his pictures. With his permission, I've included his response here (my questions are in italics):
What process was used to digitize/scan the original pictures?
I was at Princeton from 1970-74 as an undergraduate in Mathematics/Computer Science (before there was a CS department). This work was done around 1973.
I worked part-time in the Computer Graphics Laboratory of the Department of Biochemistry. Biochem had a digital densitometer that was used to scan X-ray diffraction films of crystals; that data was used to determine the structure of large molecules like myoglobin. (The CGL had a state of the art Evans and Sutherland LDS-1 vector graphics computer, which I programmed to display 3D stick models of those big molecules. And to play Asteroids, but that's a different story...) The densitometer included a drum scanner on which transparency film was placed, and it wrote 8-bit gray-scale data to a 9-track magnetic tape. I've forgotten what the DPI was.
I also worked at the Princeton Computer Center Clinic, the "help me!" office of the computer center. That gave me the opportunity to spend long hours with the IBM 360/91 computer, get 9-track tapes, get favors from the operators, etc.
I had seen some pictures rendered using printed characters before, and I wanted to try it out. I took a black-and-white 35mm photograph of the picture I wanted to scan, got the film processed at a camera store, mounted the negative on the densitometer, and loaded a blank tape. I want to say the scan took 15-30 minutes. The machine was only lightly used those days, so I had no problem getting time on it. I carried the tape to the computer center, where I dumped the data to a disk file. (We used punched cards and IBM 360 Job Control Language in those days. Keeping data in a disk file instead of on tape or cards was very cool.) I wrote a FORTRAN program that would give me simple dumps of the data so I could find the data rectangle that was the picture in the middle of the larger data "window"; you couldn't precisely control how much the densitometer scanned. I also had a program that rotated or flipped the data so that the picture was oriented the right way.
How were the digitized values converted into overstrike patterns?
The rendering itself was done with a FORTRAN program that evolved over time as I tried to get better and better quality. It read data that specified the rendering process: row/column numbers that "cropped" the data, and some numbers that specified the low-density cutoff (all values below were black) and the high-density cutoff (all values above were white). The densities in between were linearly mapped to approximately 16 overstrike patterns that formed my printer grayscale. Since the data was from a photographic negative, the scale had to be reversed, of course. Choosing the right mapping parameters was trial-and-error. I went through lots of bad renderings before getting the parameters correct for each picture. I had to discard some pictures--they simply didn't look good in black-and-white. The program had the ability to look only at every second or third data point, so I could print smaller renderings; I think I averaged the surrounding data points to get a value to print. Finally, while the data points were originally recorded by the densitometer on a square grid, the horizontal (character-to-character) and vertical (line-to-line) spacings on the printer were not equal, so the program had to perform more scaling so that the final picture came out with the correct proportions. I used no complicated mathematical techniques, like filtering or sharpening.
BTW, these were "chain printers"; see http://en.wikipedia.org/wiki/Line_printer.
My print jobs specified all-white paper, so they were queued until the regular times the operators mounted white paper for people printing papers or theses with the "roff" text formatter. (Green/white striped paper was the norm.) The printers were in the hardware room. I could see and hear them, but I never had hands-on access to them. When the overstriking job ran, the operators had to be reassured that the funny noise the printer made was not a malfunction. They took the printed paper off the printer and placed it in bins by user name, which I then retrieved. Most pictures were printed in multiple "strips" of paper that had to be carefully trimmed and taped together by hand. The largest picture was perhaps 4 feet square, and looked best at a distance of about 20 feet. (For that picture, of the moon, I scanned a high-quality 2.5-inch negative a friend provided.) I assembled the pictures and, every so often, late at night, I taped them to the white cinder-block walls of the computer center's "ready room" (where jobs were submitted and people waited for their output to be placed in bins). Most people were impressed; no one asked me to remove them.
I chose the particular overstrike patterns by trial-and-error. I figured out from manuals how to direct the 132-character line printer to print one line over the previous one, and how to avoid skipping a few lines at the top and bottom of each page. I also increased the lines-per-inch to minimize the gaps between lines. I printed out a full page of each overstrike pattern, and arranged the pages on the computer center floor at night, eyeballing them to see if they formed a smooth gray scale. If not, I tried some other patterns. A few attempts actually ripped the paper. Eventually, I got ones that were good enough. By the way, not only must the darkness be correct, but the overstrike pattern needs to be relatively symmetric and centered in the character position; otherwise adjacent gray levels aren't pleasing. I can't remember the maximum number of overstrikes--I think a couple of gray levels used three or four. These overstrikes were chosen specifically for our printers, their EBCDIC character font, the black ink ribbons, and the paper the University used. With different printers, I doubt if the gray scales would be quite right.
The programs and the raw data perished after I left Princeton. I left the print files on disk, so anyone could print out copies of the pictures after I left. It would be easy to reproduce the technique, but the interesting challenge was working within the limitations of the printers in those days.
Was the Mona Lisa one of yours, as well?
No. Many of my pictures had my name printed in the bottom corner. Not all. There were about a dozen of them: a large picture of the moon; Buzz Aldrin on the moon; Mr. Spock; a Playboy Playmate (Lenna Sjooblom, Nov 1972, and probably others); my girlfriend's terrier; a close-up of my cat's face; others I can't remember.
Should these be printed at 6 or 8 lines per inch?
The pictures that I printed were not noticeably stretched in either direction, nor did they have wide whitespace gaps between lines. I tried to compress the lines (increase the LPI) so that each character was surrounded by an even amount of whitespace. So, if the picture you have is stretched, or there is much space between lines, then the LPI is wrong. The rendering was so optimized for those IBM line printers and ink ribbons, I doubt if printing them on other printers could ever be quite right.
Hope this helps.
Sam Harbison
January 2009
The data for these pictures were downloaded from David Gesswein's PDP-8 site, in the ASCII Art directory. These particular pictures were printed on a Data General LDM-800 line-matrix printer in LG01 emulation at 8lpi.
This version of the Mona Lisa was printed in 2 sections of 5 pages. The original source of the data is unknown.
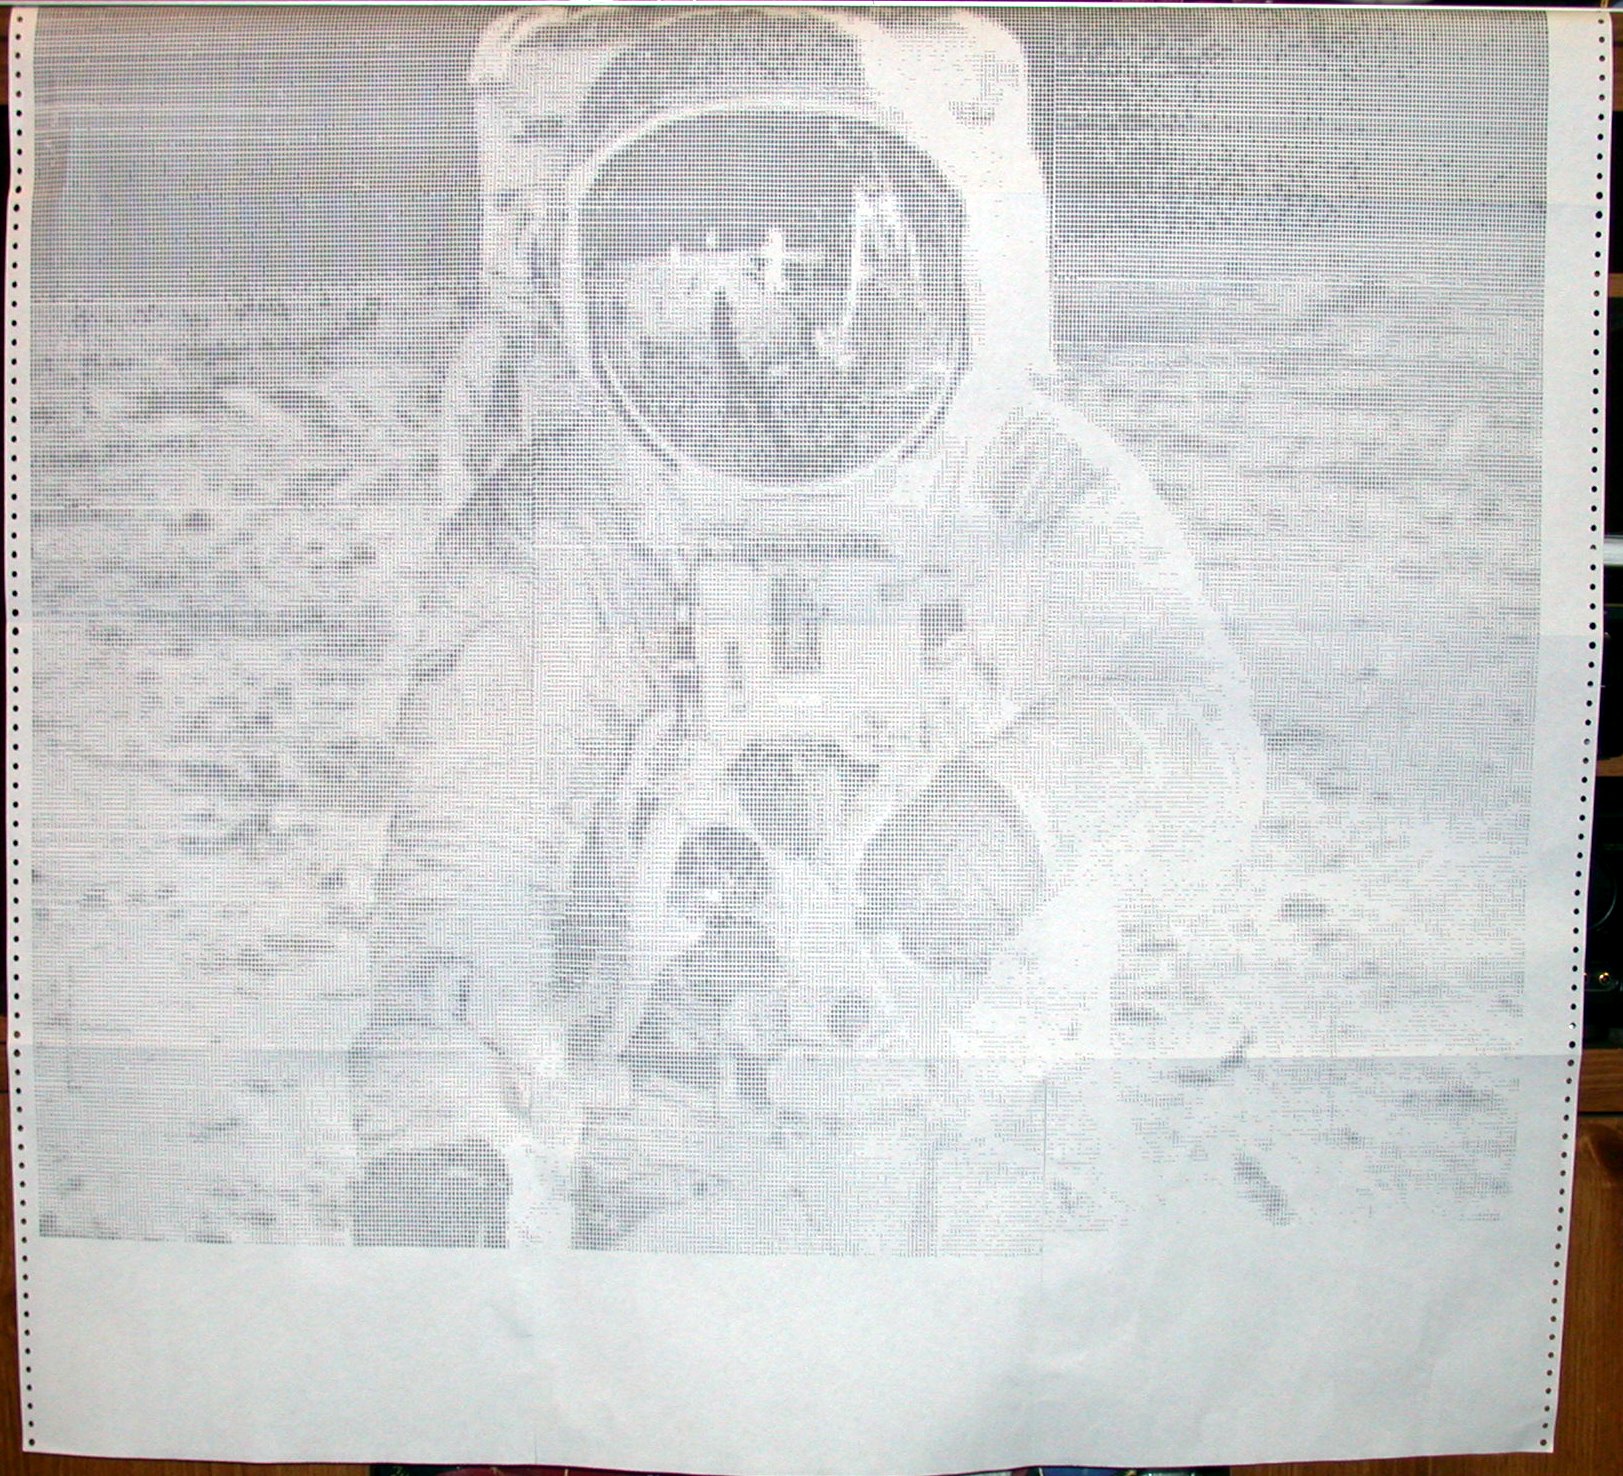
This picture of astronaut Buzz Aldrin on the lunar surface is titled, "One Giant Leap", and was produced by Samuel P. Harbison at Princeton University in 1973. It was printed in 3 sections. The original picture from Life Magazine is here.
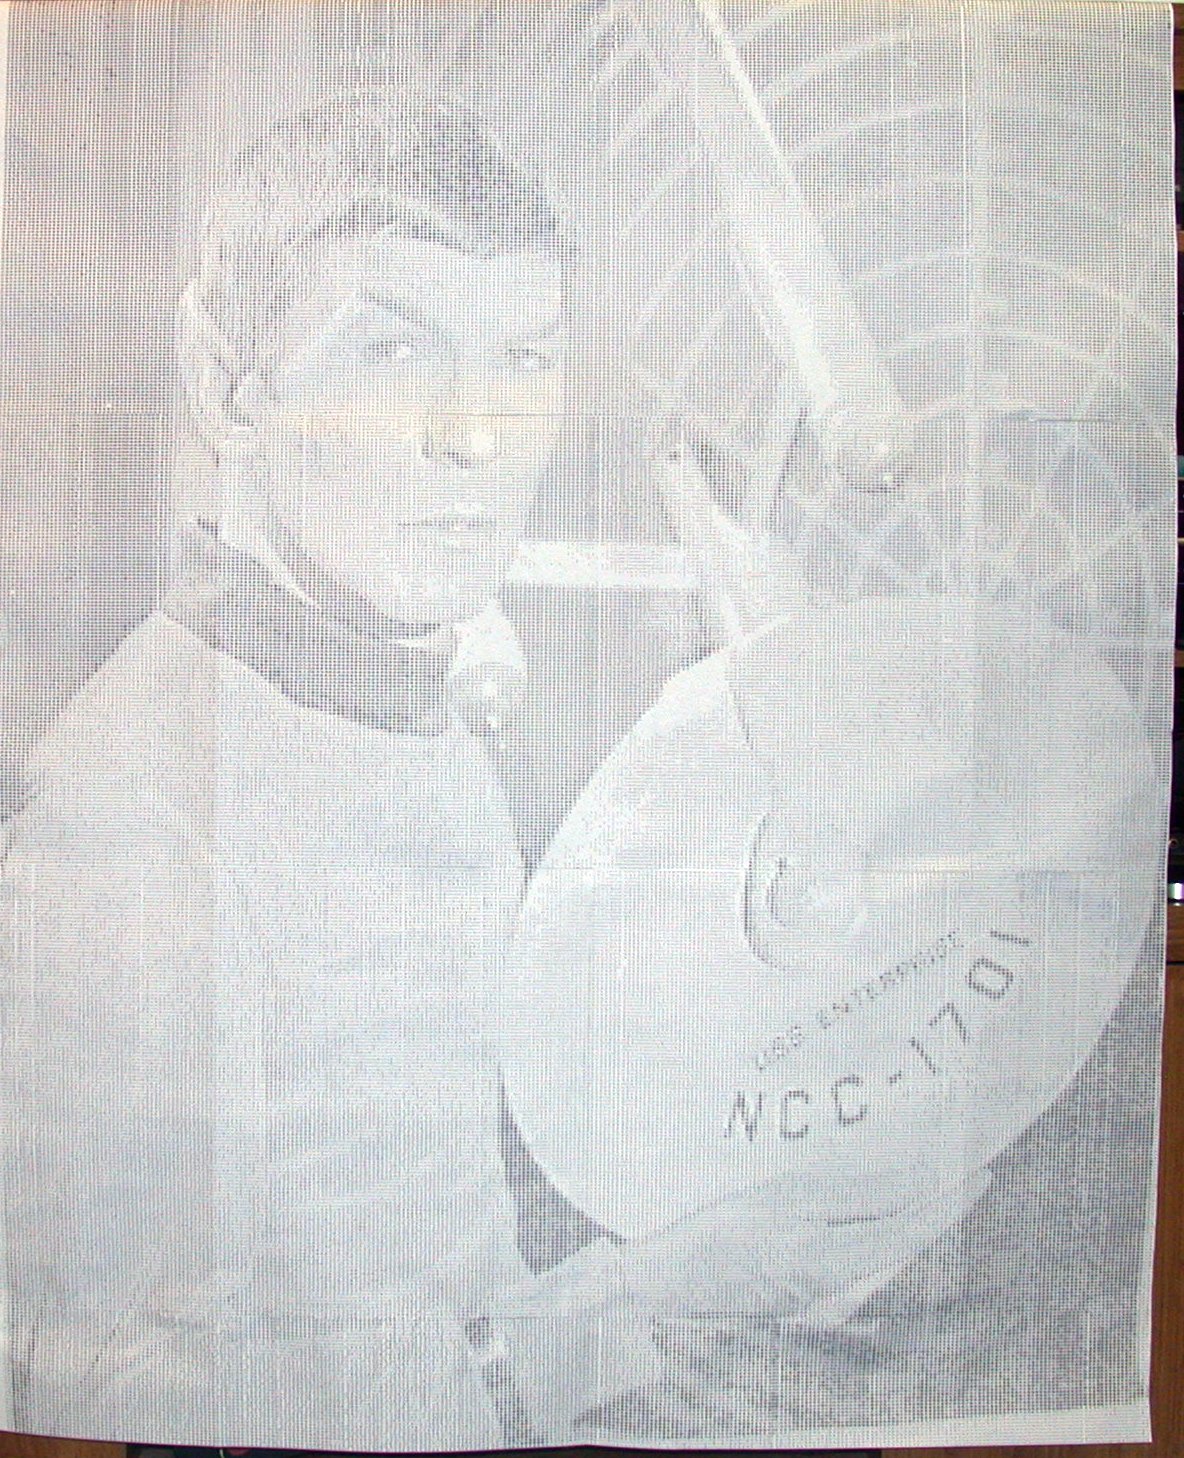
This picture of Mr. Spock holding a model of the starship Enterprise was also produced by Samuel P. Harbison at Princeton University in 1973. It was printed in 4 sections.
![]()
![]()